


Find out how HackerEarth can boost your tech recruiting
Learn more
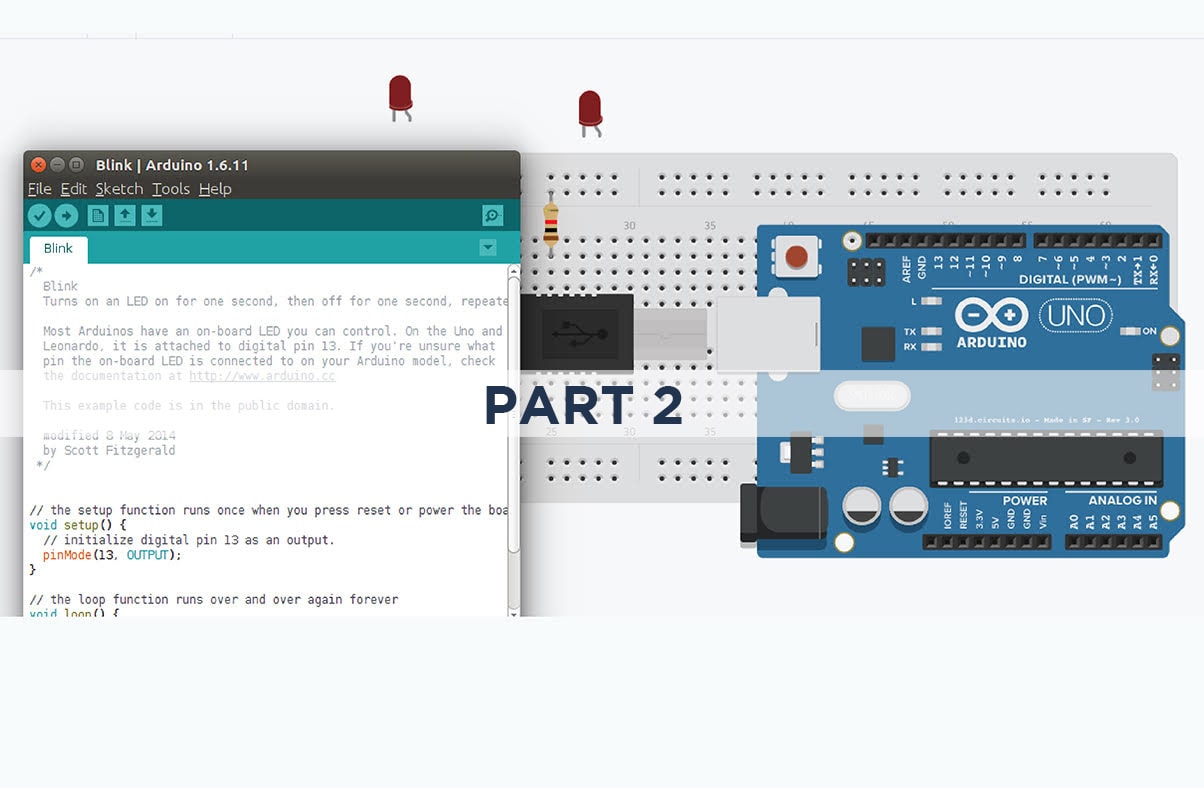
Arduino programming for beginners -2
In the previous article, we studied the basic structure of Arduino programming with examples. Now, in this article let’s look at a few more Arduino programming concepts like the following:
- if statement
- if else statement
- for loop
- while loop
- do while loop
- pinMode
- digitalRead
- digitalWrite
- analogRead
- analogWrite
if statement
The “if” statement is a conditional statement, it checks if a certain condition is met. If yes, it executes the set of statements enclosed in curly braces. If the condition is false, then the set of statements will skip the execution.
The syntax of the “if” statement is follows:
if(some variable ?? state)
{
statement-1;
.
.
.
statement-n;
}
In the above format, ?? represents comparison operator
X==Y // Check if X is equal to Y
X!=Y // X is not equal to Y
X<Y // Check if X is less than Y
X>Y // Check if X is greater than Y
X<=Y // Check if X is less than or equal to Y
X >=Y // Check if X is greater than or equal to Y
Note: “=” is used to assign a value, where as == is used for comparison.
Example
if (LED == HIGH)
{
digitalWrite(LED, LOW);
}
if-else statement
This statement makes an “either-or decision. The if statements checks a condition. If it is true, it executes a set of statements; if the condition is not true, it executes other set of statements.
The syntax of “if-else” statement is as follows:
if (some variable ?? state)
{
statement-1;
.
.
.
statement-n;
}
else
{
statement-1;
.
.
.
statement-n;
}
Example
if(LED==High)
{
digitalWrite(LED, LOW);
}
else
{
digitalWrite(LED,HIGH);
}
else can also be preceded by another if statement; the syntax is as follows:
if (some variable ?? state)
{
statement-1;
.
.
.
statement-n;
}
else if ( some variable ?? state )
{
statement-1;
.
.
.
statement-n;
}
else
{
statement-1;
.
.
.
statement-n;
}
The if-else state is used when you want to run two mutually exclusive tests and run a separate set of statements for each test.
for loop
If you want to repeatedly execute a set of statements for a specific number of times, then you can use a for loop.
The syntax of the “for” statement is as follows:
for(initialization; condition; expression)
{
Statement-1;
.
.
.
Statement-n;
}
In the for loop, the variable initialization is done only once. After this the set of statements is executed, the initialization step is skipped and directly the condition will be checked. If the result is true, before executing the set of statements in the curly braces, the expression will be executed.
Example
for (int X=0; X<50; X++) //Variable X is initialized to 0, check if X is less than 50, if yes, increase the value of X by 1
{
digitalWrite (12, HIGH); //Turn on the component connected to pin number 12
delay(1000); //Wait for 1 sec
digitalWrite ( 12, LOW); //Turn OFF the component connected to pin number 12
delay (1000); //Wait for 1sec
}
Note: X++ is same as X=X+1 or X+=1
while loop
The while loop executes a set of statements until the expression inside the parentheses is false.
The syntax of the “‘while” loop is as follows:
while (some variable ?? value)
{
Statement-1
.
.
.
Statement-n;
}
Example
while(i<=200)
{
digitalWrite (12, HIGH); //Turn on the component connected to pin number 12
delay(1000); //Wait for 1 sec
digitalWrite ( 12, LOW); //Turn OFF the component connected to pin number 12
delay (1000); //Wait for 1sec
i++;
}
The set of statements under a while loop is executed only if the condition is true. In the while loop, there should be a statement which changes the state of the tested variable. If not, the while loop will never exit. In the example above, the tested variable is “i” and the statement that changes its state is “i++.”
do while loop
If you want to execute a set of statements once and repeatedly execute the set if a certain condition is true,the syntax of the “do-while” loop is as follows:
do
{
statement-1;
.
.
.
statement-n;
} while (some variable ?? value);
The do-while loop is a bottom-driven loop because the condition is checked at the end, after executing the set of statements at least once.
Example
do
{
temperature=readSensor( ); // Variable temperature is set to boiler temperature
digitalWrite(13, HIGH); //Turn ON the LED connect to pin number 13
delay(1000); //Wait for 1sec
}while(temperature<=35); // Check if temperature is less than or equal to 35
The program above turns on the LED if the boiler temperature is less than or equal to 35.
pinMode
This statement is used in the preparation block of the Arduino program, that is, in the void setup() function.The pinMode statement is used to configure a pin to behave in either the INPUT mode or OUTPUT mode.
The syntax of the “pinMode” statement is as follows:
pinMode (pin-number, behaviour);
Example
pinMode (13, OUTPUT);
Note: Digital pins on the Arduino board are input, by default, so these pins can be used in the INPUT mode even without declaration.
digitalRead
This statement reads the state of the specified digital pin and the result will be either HIGH or LOW.
The syntax is as follows:
state=digitalRead(pin-number);
digitalWrite
digitalWrite statement is used to either turn ON or OFF the device connected to a specified digital pin.
The syntax of the “digitalWrite” statement is as follows:
digitalWrite(pin-number, status)
Example
digitalWrite(12,HIGH);
digitalWrite(13,LOW);
analogRead
This statement reads the value from the specified analog pin on the Arduino board with 10-bit resolution. The result will be an integer value in the range of 0 to 1023.
The syntax of the “analogRead statement” is as follows:
value=analogRead (pin-number);
analogWrite
This statement writes a pseudo-analog value to the specified pin. The value is called pseudo-analog because it is generated by Pulse Width Modulation pins (PMW) on the Arduino board. The value can be specified as a variable or constant in the range of 0 to 255.
The syntax of “analogWrite” statement is as follows:
analogWrite(pin-number, value);
Example
analogWrite(9,255);
Note: Analog pins need not be declared as INPUT or OUTPUT pin.
Congratulations! You have completed the basic level of Arduino programming, but do not settle down as there are a few more things to learn before you become a pro.
In the next article, we will discuss how you can work with different sensors. Till then keep building.
Get advanced recruiting insights delivered every month
Get advanced recruiting insights delivered every month
Get insightful articles from the world of tech recruiting straight to your inbox
Related reads

The complete guide to hiring a Full-Stack Developer using HackerEarth Assessments
Fullstack development roles became prominent around the early to mid-2010s. This emergence was largely driven by several factors, including the rapid evolution of…

Best Interview Questions For Assessing Tech Culture Fit in 2024
Finding the right talent goes beyond technical skills and experience. Culture fit plays a crucial role in building successful teams and fostering long-term…

Best Hiring Platforms in 2024: Guide for All Recruiters
Looking to onboard a recruiting platform for your hiring needs/ This in-depth guide will teach you how to compare and evaluate hiring platforms…

Best Assessment Software in 2024 for Tech Recruiting
Assessment software has come a long way from its humble beginnings. In education, these tools are breaking down geographical barriers, enabling remote testing…

Top Video Interview Softwares for Tech and Non-Tech Recruiting in 2024: A Comprehensive Review
With a globalized workforce and the rise of remote work models, video interviews enable efficient and flexible candidate screening and evaluation. Video interviews…

8 Top Tech Skills to Hire For in 2024
Hiring is hard — no doubt. Identifying the top technical skills that you should hire for is even harder. But we’ve got your…


